
October is a hectic month in my family. In the last week there had been 5 birthday celebrations, my DH, FIL, my own father and my twins. To top it off there are these superstar things in school where you are supposed to do something special and with going to work, meetings after work, baking cupcakes after meetings after work, getting up early to make favors for the twins birthday party where I think everyone in the class came, I am done for.
But I did want to share with you a little trick for using the fancy favor box. You know I hate waste and to
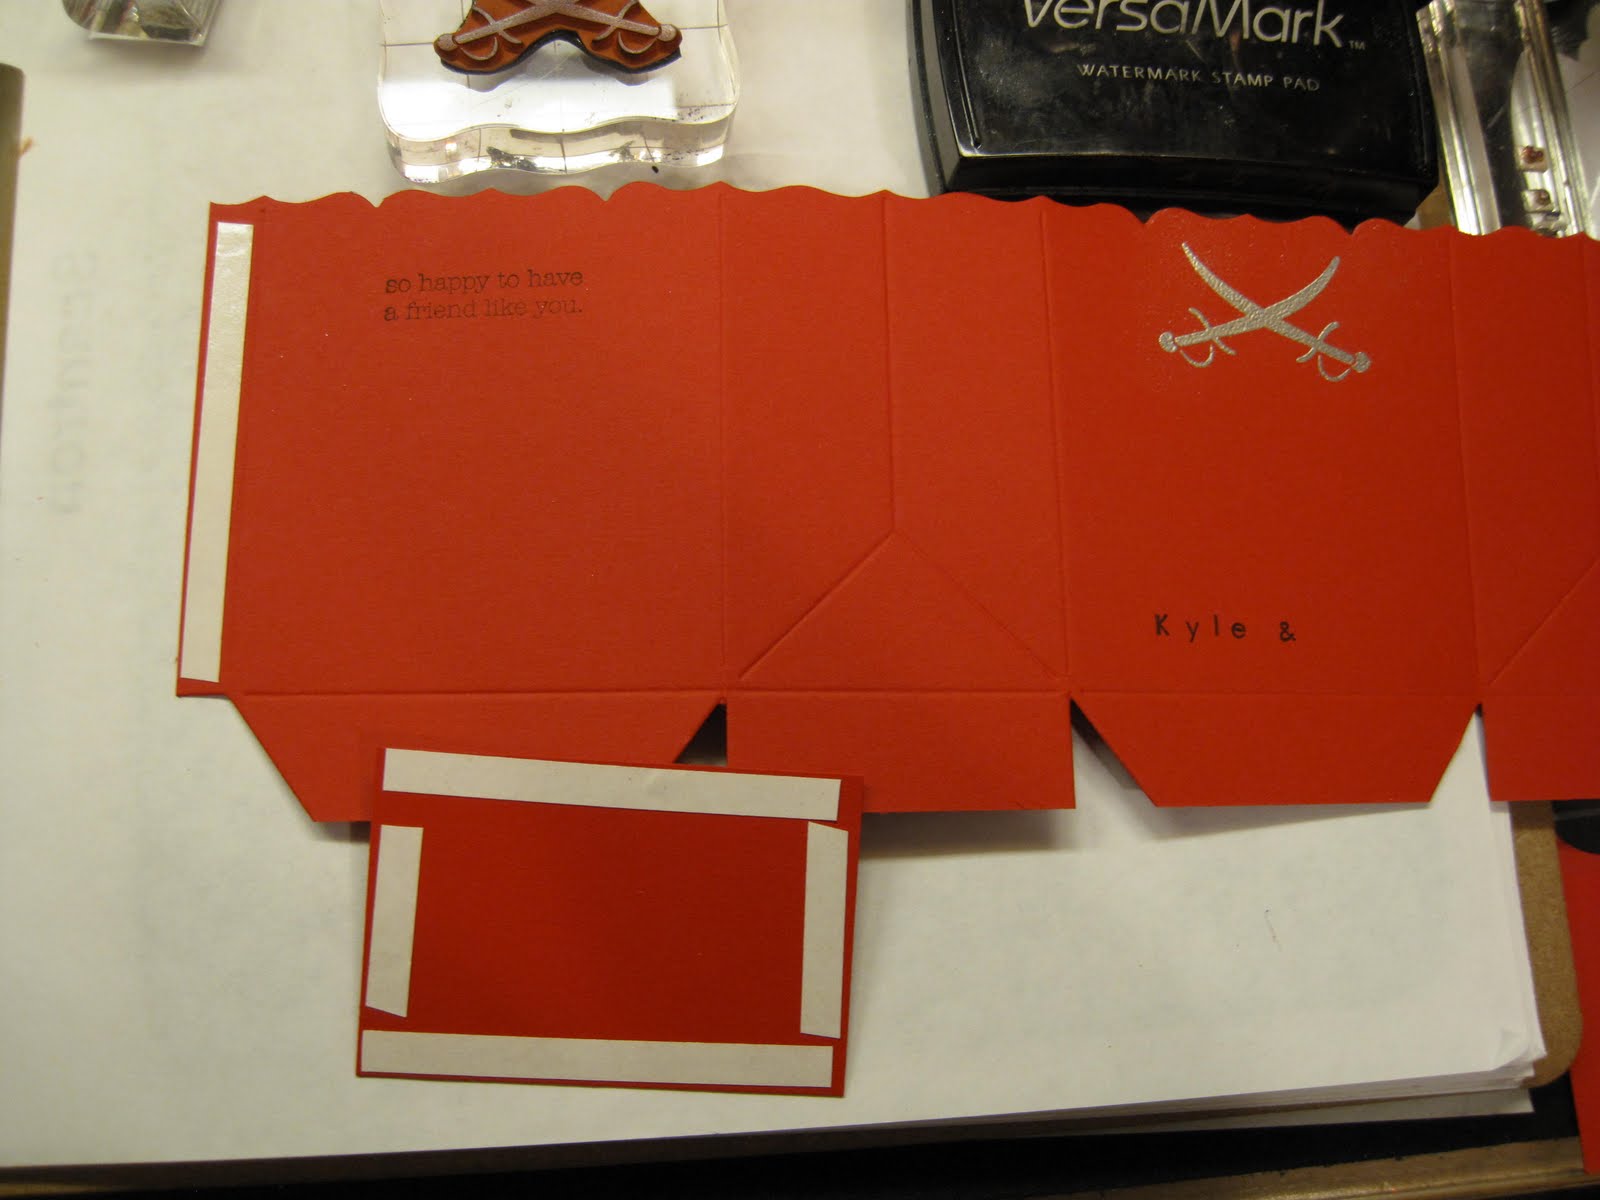
 use the fancy favor box the "right way" I would have to use 12x12 CS and waste a lot of paper- but the real problem was that I did not HAVE any 12x12 enough to make treats for 40 favors. So this is what I did. Take 8 1/2 x 11 CS and cut it longways- so 4 1/4x11 -and lay it on the die (I took a silver sharpie and marked the edges so I knew where it ended) so that the bag flap and the bottom flap are shortened- it should look like the picture on the left after you diecut it.

I then take a piece of matching CS about 2x3 ( I did use a 12x12 for this so that I got 24 pieces out of one sheet). I stuck some sticky tape as shown. (the tape on the box side goes on the side that will be outside of the box by the way.)

I was going to use this specialty Rockability DSP strip (retired that I bought extra just for this occasion) so I used it to guide the areas I wanted to stamp. The sentiment on the back is from a hostess set More the Merrier. The names are made from simple alphabet from PTI.
The boys picked out a pirate cake so I made the thme pirate and used the sword from Pirate time (retired) and embossed it with silver EP. Simple but I thought really cute. The boys gave me thumbs up.
Once I have everything stamped then I put the box together.
 First I put the side together. Instead of picking it up and trying to stick it, it aligns better if you just put it down and close the other side down onto it. It will be perfect everytime if you do it this way.
The size of 81/2x 11 allows for just over 1/4 inch overlap perfect for the sticky strip to hold it strong anyway.

This is how it looks closed.

I then put the strip around the center because it does need some extra space for the folds. I find it always easier to glue things on when they are flat. I like to use sticky strip for this as well as it is really secure. I also like a small strip at the end to keep it really securely on.
Start from one edge and wrap it around while you fold the box over and over to accomodate the ends.


Keep going around the edges until you come to the edge and tape it securely so it does not fall off.

This is how it should look when you are done.

Now take the rectangle piece and tape it on . I did fold the shorter ends in first then with the angled cuts on the side on top of that before I attached the bottom unlike the picture.

This is how it looks when you have it attached. I did push it from the inside to make sure it was really stuck. On one of my favors, I stamped the sword in black so that I could pick it as a special one that could win a prize.

I used my crop-a-dile to attach textured black CS 8 1/2 x 3/4 inch strips as handles using some red eyelets.


This is what it looks like from the back. It was not too hard and for less than 1/2 the cost of those store bought cheesy favors I was able to give a personalized gift. I filled it with crayola crayons that I bought at start of school year just for this purpose when it was dirt cheap, crayon erasers, slap stick, pirate stickers, and a little candy treat for the kids ( I know it is bad for you but what birthday favor is complete without something that is bad for you but still yummy!)
Now to have these kids write thank you cards for all the things they received from their friends....sigh. I have to go make 40 thank you cards.... The things we do to teach our kids good manners! I do think it is worth it. You just have to start young so that they think there is no other options.
Lynda
2 comments:
Lynda! These are sooo cute! Thanks for sharing! You are awesome!
I totally enjoy your projects and the "no-waste" school of thought. I try to be conscience of conserving these days in our "throw-away society."
Awesome witch hat idea.
Post a Comment